

Do you love the flavor of the creamsicle push-up pops we grew up with but not the corn syrup, dextrose, polysorbate 80 and other questionable ingredients they contain? These gelatin cups are a yummy way to get the benefits of gelatin into your diet with all of its protein and amino acids for repairing your skin, hair, and nails… not to mention your digestive system.
And of course, they deliver creamsicle deliciousness . . . only in a more portable and less “drip all over your fingers” form. (Which, hey, I’m all for in the summer when I can send my kids outside to eat and hose them off if needed.)
How to Make Real-Food Creamsicle Gelatin Cups
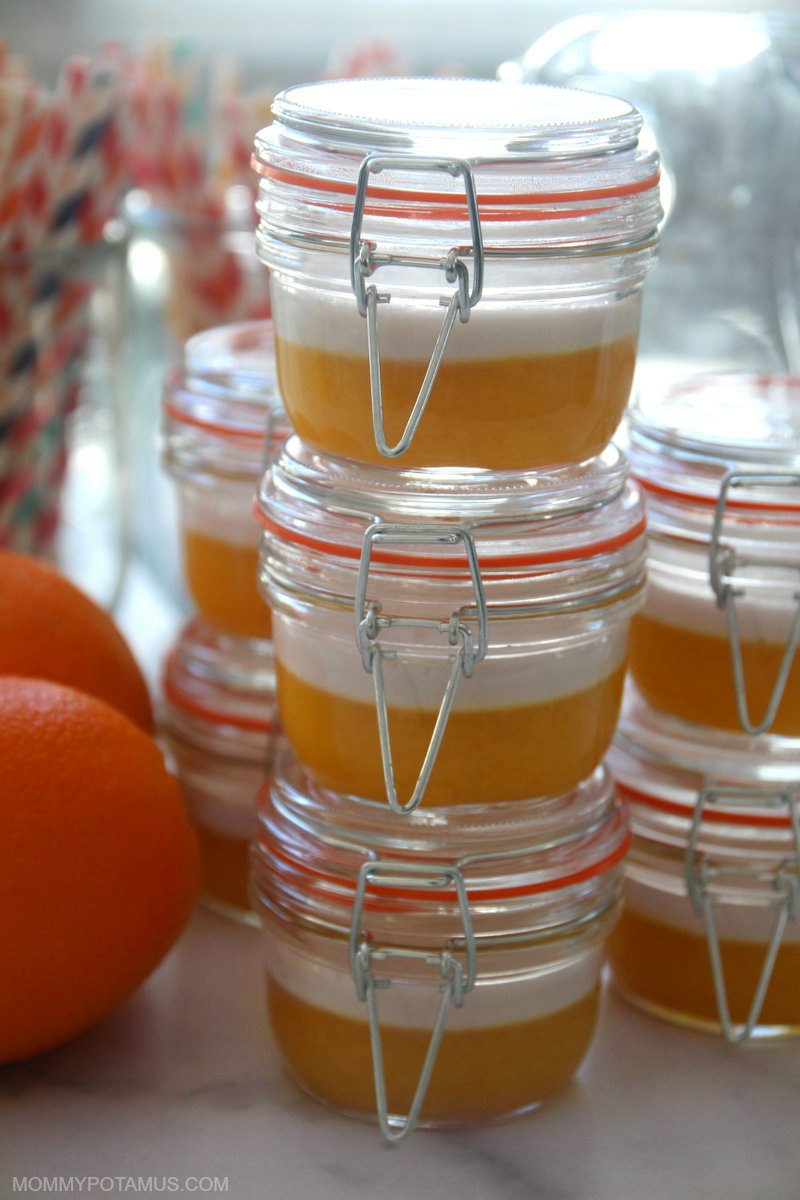
These cups contain 5 — yes just 5 – ingredients: orange juice, vanilla, grass-fed gelatin, fresh cream or coconut milk/cream, and a touch of maple syrup or honey.
Set in layers in small mason jars, they’re a great option when we’re in the mood for a light, fruity dessert and it’s not hot enough for homemade popsicles.
The bottom layer is a mixture of fresh squeezed orange juice, gelatin, and a little honey and vanilla extract. You’ll need unflavored gelatin, which you can buy from a good, pasture raised source here. Just make sure you use the gelatin, not the collagen peptides that won’t gel.
Once the orange layer is made, it will need to chill for a while until firm. The process for making the top vanilla cream layer is exactly the same as the orange layer, just with cream instead of orange juice. Again, it will need to chill before being eaten.
These jello cups take only minutes to make but about 4 hours total to firm up in the fridge, so plan ahead.
I used these 5 ounce jars to make 7 snack cups. These 4 ounce jelly jars also work well, especially if you want to take them on the go. Of course, small glasses, pyrex bowls, or a large glass pan will work, too – just cut the jello into squares when it’s chilled.
This recipe is designed after the pre-made gelatin cups you can buy from the store – except made with real food ingredients. I made these in small glass storage containers that come with fitted lids which makes this recipe easy for grab-and-go, lunches, or afternoon snacks. It is creamy, smooth, flavorful, and is kid and husband approved!
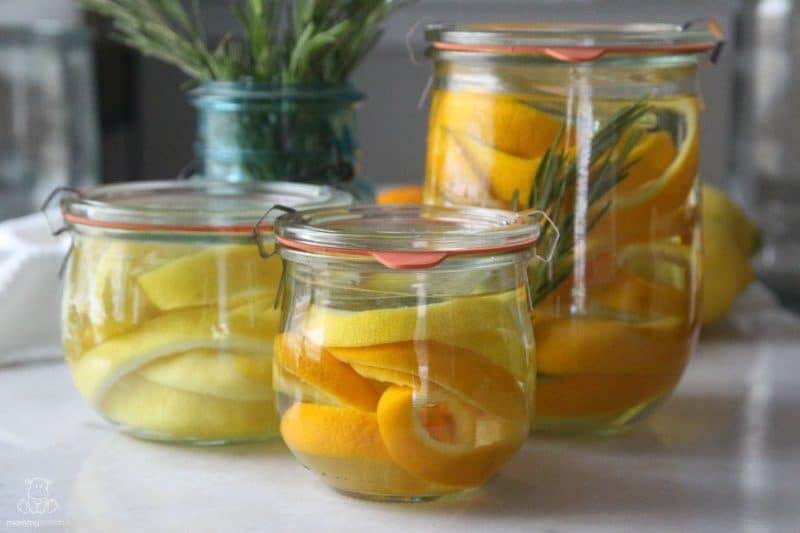
Tip: Save Your Orange Peels!
There’s a quick way to turn your leftover peels into an inexpensive, all-purpose cleaning vinegar that’s perfect for kitchens and bathrooms, removing buildup and grime, and more.
Here’s how to make citrus-infused cleaning vinegar.
 Print Pin5 from 5 votes
Creamsicle Gelatin Cups Recipe
These gelatin cups are made with fresh squeezed orange juice and heavy cream for flavors reminiscent of creamsicles. Prep Time 15 minutes Cook Time 10 minutes Total Time 4 hours 25 minutes Servings 7 4 oz. cups Calories 169kcal Author Heather Dessinger
Orange Layer
- 2 cups fresh squeezed orange juice
- 7 tsp grass-fed gelatin
- 2 tbsp raw honey (or more if needed)
- 1 tsp vanilla extract (how to make your own vanilla extract)
Cream Layer
- 1 cup coconut cream or heavy whipping cream
- 1 tbsp grass-fed gelatin
- 4 tsp raw honey (or more if needed)
- 1 tsp vanilla extract
To Make The Orange Layer
- In a small bowl mix together 1/2 cup orange juice and 7 teaspoons gelatin. Set aside.
- In a small saucepan combine the rest of the orange juice with 2 tablespoons honey and 1 teaspoon vanilla extract.
- Heat over medium-low heat until the mixture is hot but not boiling.
- Whisk in the gelatin mixture until completely it is dissolved. Taste and add more honey if needed.
- Divide evenly between ramekins or mason jelly jars. I placed 1/3 cup in seven of these jars.
- Place containers in the fridge for a couple of hours to firm up. Once the orange layer is firm it's time to make the cream layer.
To Make The Cream Layer
- In a small bowl mix together 1/3 cup cream and 1 tablespoon gelatin. Set aside.
- In a small saucepan combine the rest of the cream with 4 teaspoons honey and 1 teaspoon vanilla extract.
- Heat over medium-low heat until the mixture is hot but not boiling.
- Whisk in the gelatin mixture until completely it is dissolved. Taste and add more honey if needed.
- Divide evenly between ramekins or mason jelly jars. I placed just a little over 2 tablespoons into seven of these jars.
- Place back in the fridge and allow the cream layer to firm up for another hour or two before serving.
Feel free to use whatever size ramekins you’d like. I find that 4 oz jelly jars make a nice size serving, come with handy lids, and are easy to transport.  Tried this recipe? Mention @mommypotamus or tag #mommypotamus! Serving: 4oz. | Calories: 169kcal | Carbohydrates: 11g | Protein: 7g | Fat: 12g | Saturated Fat: 11g | Sodium: 15mg | Potassium: 111mg | Fiber: 1g | Sugar: 8g | Vitamin C: 1mg | Calcium: 6mg | Iron: 1mg
More Healthy Gelatin Snacks
Homemade Strawberry Jello Recipe – If you love strawberry jello but not the congealed red #40 and artificial flavorings found in boxed versions, you’re going to love this recipe!
Sour Gummy Snacks – These yummy gummies only take five-minutes of hands-on time to make and are perfect for snacking on-the-go.
Strawberry Cream Gummy Snacks – If you already love the flavor of oranges and cream, chances are you’ll love this recipe, too!
Easy Coconut Panna Cotta – This four-ingredient recipe from Megan of Detoxinista is super easy and delicious.


