
Hey there, I’ve had this article in my queue for awhile now and thought this might be a good time to share it. Like most of you, my access to groceries is limited right now, and I’m doing my best to make nourishing foods with what I have on hand.. This recipe is pretty flexible and you may already have the ingredients to make it waiting in your kitchen. Okay on to the post. ❤️
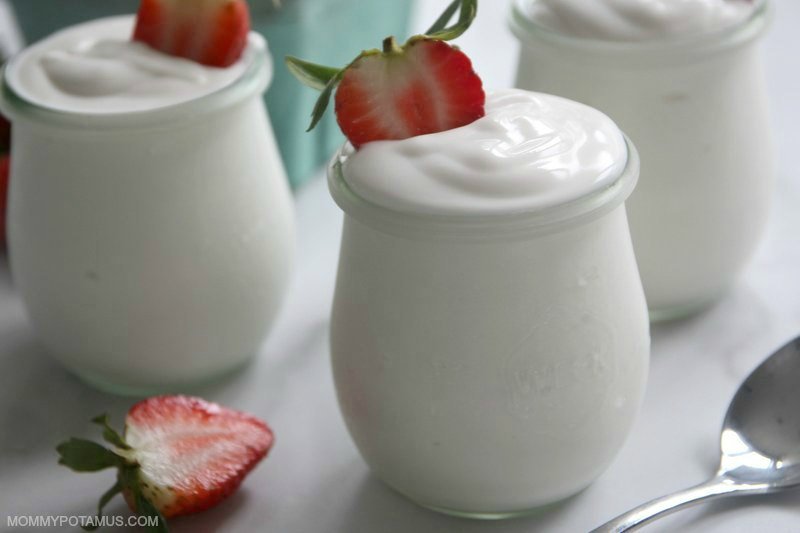
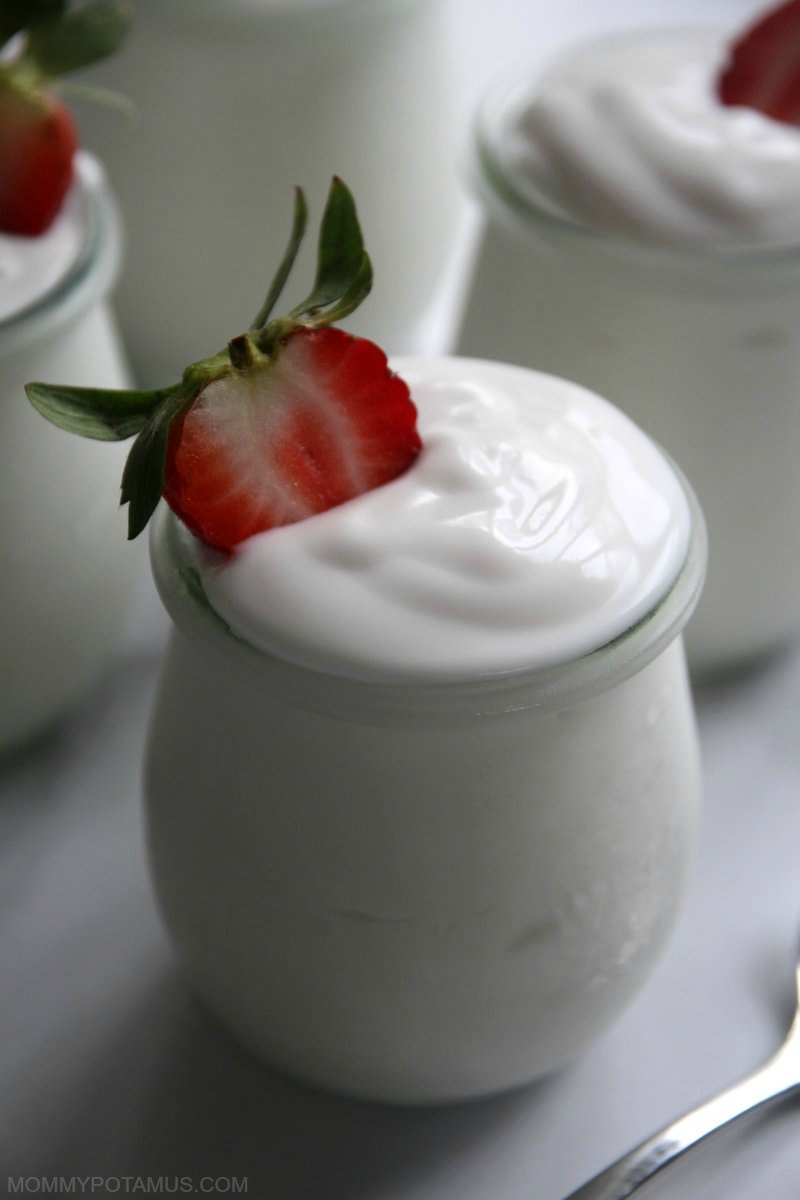
This creamy, thick coconut yogurt is an easy way to support immunity with probiotics, and you probably have everything you need to make it right now. Unlike some methods, you don’t need a thermometer or a lot of hands-on time. It’s super easy, delicious, dairy-free, way more affordable than store-bought and did I say delicious?
Although the exact type of “good guys” in your yogurt will vary depending on which kind of starter you use (probiotic capsules, store-bought yogurt, or powder), in general probiotics are associated with all kinds of good things – immune health, clear skin, heart health, blood sugar balance, improved digestive function and more.
And of course it will also be rich in nourishing fats like medium chain triglycerides, which are associated with cognitive function and a healthy metabolism. Coconut milk or cream is also one of the best sources of monolaurin, which supports the immune system.
Here’s the best part, though . . .
Making Coconut Yogurt Is Probably Easier Than You Think
Although it sounds complicated (like braiding bread or making pasta), making yogurt is probably less effort than picking it up at the store . . . and cheaper, too! The basic recipe is coconut milk + good bacteria + warmth = tangy, coconutty goodness.
However, because I like CREAMY, tangy, coconutty goodness, I add a thickener into the mix. Gelatin is my go-to, although I’ve heard others have had success with agar agar (seaweed) powder. (If you’re one of those people, please share any tips you have in the comments below!) So my process looks like this:
- Add gelatin to one cup of of room temperaturecoconut milk and stir (or blend in a blender) to combine.
- Activate the gelatin by adding one cup of hot coconut milk and stir (or blend) again.
- Cool the mixture down by adding two more cups of coconut milk so you don’t kill the good bacteria when you add them.
- Add the good bacteria (options below) plus some food for them to eat (maple syrup)
- Let warmth and time work their magic. In 12-24 hours you’ll have creamy, homemade coconut yogurt.
3 Starter Culture Options (You Probably Already Have One of These)
- Store-bought coconut yogurt with active cultures – SO Delicious makes one with several beneficial types of bacteria ( L. Bulgaricus, S. Thermophilus, L. Rhamnosus, L. Acidophilus, Bif. Bifidum, and Bif. Animalis) that love coconut milk and will work beautifully. The best part about this approach is that every time you start running low, you can just use what’s left of your last batch to start a new one.
- Probiotic capsules – Make sure they’re PRObiotics without any PREbiotics. Look for the following strains: Lactobacillus acidophilus, Bifidobacterium bifidum, Bifidobacterium lactis and Streptococcus thermophilus. I have used GUTPro capsules with good success, but from what I’ve read there are lots of other options that will work, too.All of these probiotics are dairy-free and have at least one strain in common with the SO Delicious store-bought yogurt are are reported to work well: Klaire Labs Ther-Biotic, Renew Life, Pure Encapsulations, Megaflora, NOW Probiotics.
- Dairy-free yogurt starter – Instead of capsules, these probiotics are in little packets that can be added to each batch. The strains used are perfect for making yogurt.
Instant Pot, Oven or Yogurt Maker?
After you mix everything together, all you need is time and a warm spot . . . pretty much any warm spot will do. Here are some good options:
Instant Pot– The one I use has a yogurt button that allows me to just pop my jars inside and set the number of hours I want to let it culture. I usually opt for 24 if I have time, which is a lot longer than I’m willing to tie up my oven.
Oven – If you want to culture for eight or so hours, you can make a batch just before bed and then place your jars in the oven. Turn on the oven light and place the jars near it so they can soak up its warmth overnight. If you need your oven in the morning but are not quite ready to stop culturing yet, you can move the jars to a warm spot and allow them to continue for as long as you like (up to about 48 hours).
Yogurt Maker – I’d look for one that doesn’t automatically shut off after eight hours. This one will ferment for nearly double that amount of time (15 hours).
Delicious Ways Use Coconut Milk Yogurt
- Mixed with fresh fruit, nuts, or jam (May I suggest this easy strawberry jam that can be made with fresh or frozen berries, or maybe this blackberry one?)
- Stirred into homemade maple granola (or pumpkin spice)
- In smoothies (mango especially)
- As the base for these 4-ingredient strawberry mint popsicles
- To make aji verde (Peruvian green sauce – recipe coming soon!)
Important Tips Before You Get Started
#1 – Make sure you use clean jars, bowls (if using), blender components (if using), whisks, etc. We want them to be free of microbes that might interfere with the good guys we are trying to culture.
To get everything ready you can run it through the dishwasher with hot water (preferably using the “sanitize” setting) OR you can pour boiling water into the jars/vessels you are planning on using and use hot, soapy water to clean everything else. I keep my extra clean jars in a particular spot in my kitchen so that I can grab them when needed.
#2 – The maple syrup in this recipe is food for the good guys, so don’t leave it out. Unlike dairy milk, which contains naturally-occurring sugars that feed friendly bacteria, coconut milk doesn’t contain natural sugar. For that reason we need to add some to power our good guys.
Honey is not a good option because it can negatively impact microbial growth – a property which is great wound healing but not making yogurt – which is why maple syrup is recommended. Although some might remain in the final product (depending on how long you ferment it), most will be used up during the fermentation process.
#3 – If you’re sensitive to dairy, make sure your probiotic powder (or starter culture) is labeled dairy-free and/or vegan. A lot of probiotics have the same strains, but they come from different sources.
 Print Pin5 from 1 vote
How To Make Coconut Yogurt In An Instant Pot, Oven or Yogurt Maker (Dairy-Free, Paleo)
Prep Time 15 minutes Fermenting Time 1 day Servings 8 1/2 cup portions Calories 239kcal Author Mommypotamus
- 4 cups coconut cream or full-fat coconut milk
- 2 tsp grass-fed gelatin
- 6-8 probiotic capsules (options in notes below) – OR – 1 package dairy-free yogurt starter – OR – 1/3 cup plain yogurt with live cultures
- 2 tbsp maple syrup (See tips section above for why it's essential)
Step 1: Combine Ingredients
- Place 1 cup of room temperature coconut milk and 2 teaspoons gelatin a blender jar or glass bowl. Blend or stir to combine.
- Place 1 cup of coconut milk in a small pot or saucepan. Heat until steaming but not boiling, then remove from heat.
- Pour the hot coconut milk into the blender jar or bowl and blend/stir until well-combined.
- Pour the remaining 2 cups of coconut milk into the blender jar or bowl and mix again.
- Add the maple syrup and starter and mix one more time.
- Divide the mixture between three clean 16 ounce mason jars or other sturdy glass jars. Place the lids on top.
Step 2: Ferment in an Instant Pot, oven or yogurt maker
- If using an Instant Pot: Place your trivet inside the Instant Pot bowl. Pour in two cups of water. Place the jars on top of the trivet and secure the lid on tip. Press the "yogurt" button and increase the number of hours to 24. It will automatically set from there.
- If using a yogurt maker: Place jars in the yogurt maker and set for 8-24 hours according to manufacturer's instructions.
- If using an oven: Turn the light on and place the jars near it so they can soak up its warmth for at least 8 hours. If you need your oven after that but are not quite ready to stop culturing yet, you can move the jars to a warm spot and allow them to continue for as long as you like (up to about 48 hours).
Step 3: Cool
- When the incubating time is up, remove the jars from the warm area and shake well to mix the milk and "whey" that have probably separated. The yogurt will be thin and runny because it's warm, but will continue to thicken as it cools. Refrigerate for at least a couple of hours – preferably overnight – before serving. Keep refrigerated and use within two weeks.
Probiotic capsule options – I have used GUTPro capsules with good success, but from what I’ve read there are lots of other options that will work, too. All of these probiotics are dairy-free and have at least one strain in common with the SO Delicious store-bought yogurt are are reported to work well: Klaire Labs Ther-Biotic, Renew Life, Pure Encapsulations, Megaflora, NOW Probiotics. Nutrition estimates are based on coconut milk.Calories: 239kcal | Carbohydrates: 7g | Protein: 3g | Fat: 24g | Saturated Fat: 21g | Sodium: 17mg | Potassium: 260mg | Sugar: 3g | Vitamin C: 1mg | Calcium: 26mg | Iron: 4mg
Frequently Asked Questions
Can I use agar agar powder instead of gelatin?
I’ve heard that agar agar powder will work, but I think it needs to be boiled in water to dissolve properly. I’ll test it sometime and let you know – or if someone already does please leave a comment! I do know that typically you use about half the amount of gelatin called for, but I have not tested it in this recipe.
Can I use almond milk instead of coconut milk?
I don’t recommend it. Coconut milk has a much higher fat content which yields a much richer, creamier result.
How can I make this into greek-style yogurt?
To make it thick like greek yogurt, you can place it in a cheesecloth and allow some of the liquid to drain off.
Can I use a slow cooker to make coconut milk yogurt?
Some people have with great success, but I’ve found that even my “warm” setting was too hot and killed the beneficial bacteria.
More Dairy-Free, Gluten Free-Recipes
Strawberry Shortcake Biscuits – These strawberry shortcake biscuits are so simple and delicious! When strawberries aren’t in season, be sure to check out the suggestions for different fruits that go well with this recipe.
Homemade Chicken Pot Pie – This pot pie has a golden crust and creamy chicken & veggie filling that makes it one of my family’s favorite comfort foods.
Gluten-Free, Dairy-Optional Peach Cobbler – This easy, Southern-style peach cobbler is one my favorite summer desserts. Cinnamon, vanilla, & heaps of fresh peaches meld beautifully with the buttery, sweet topping.


