
BudgetMake-aheadBread
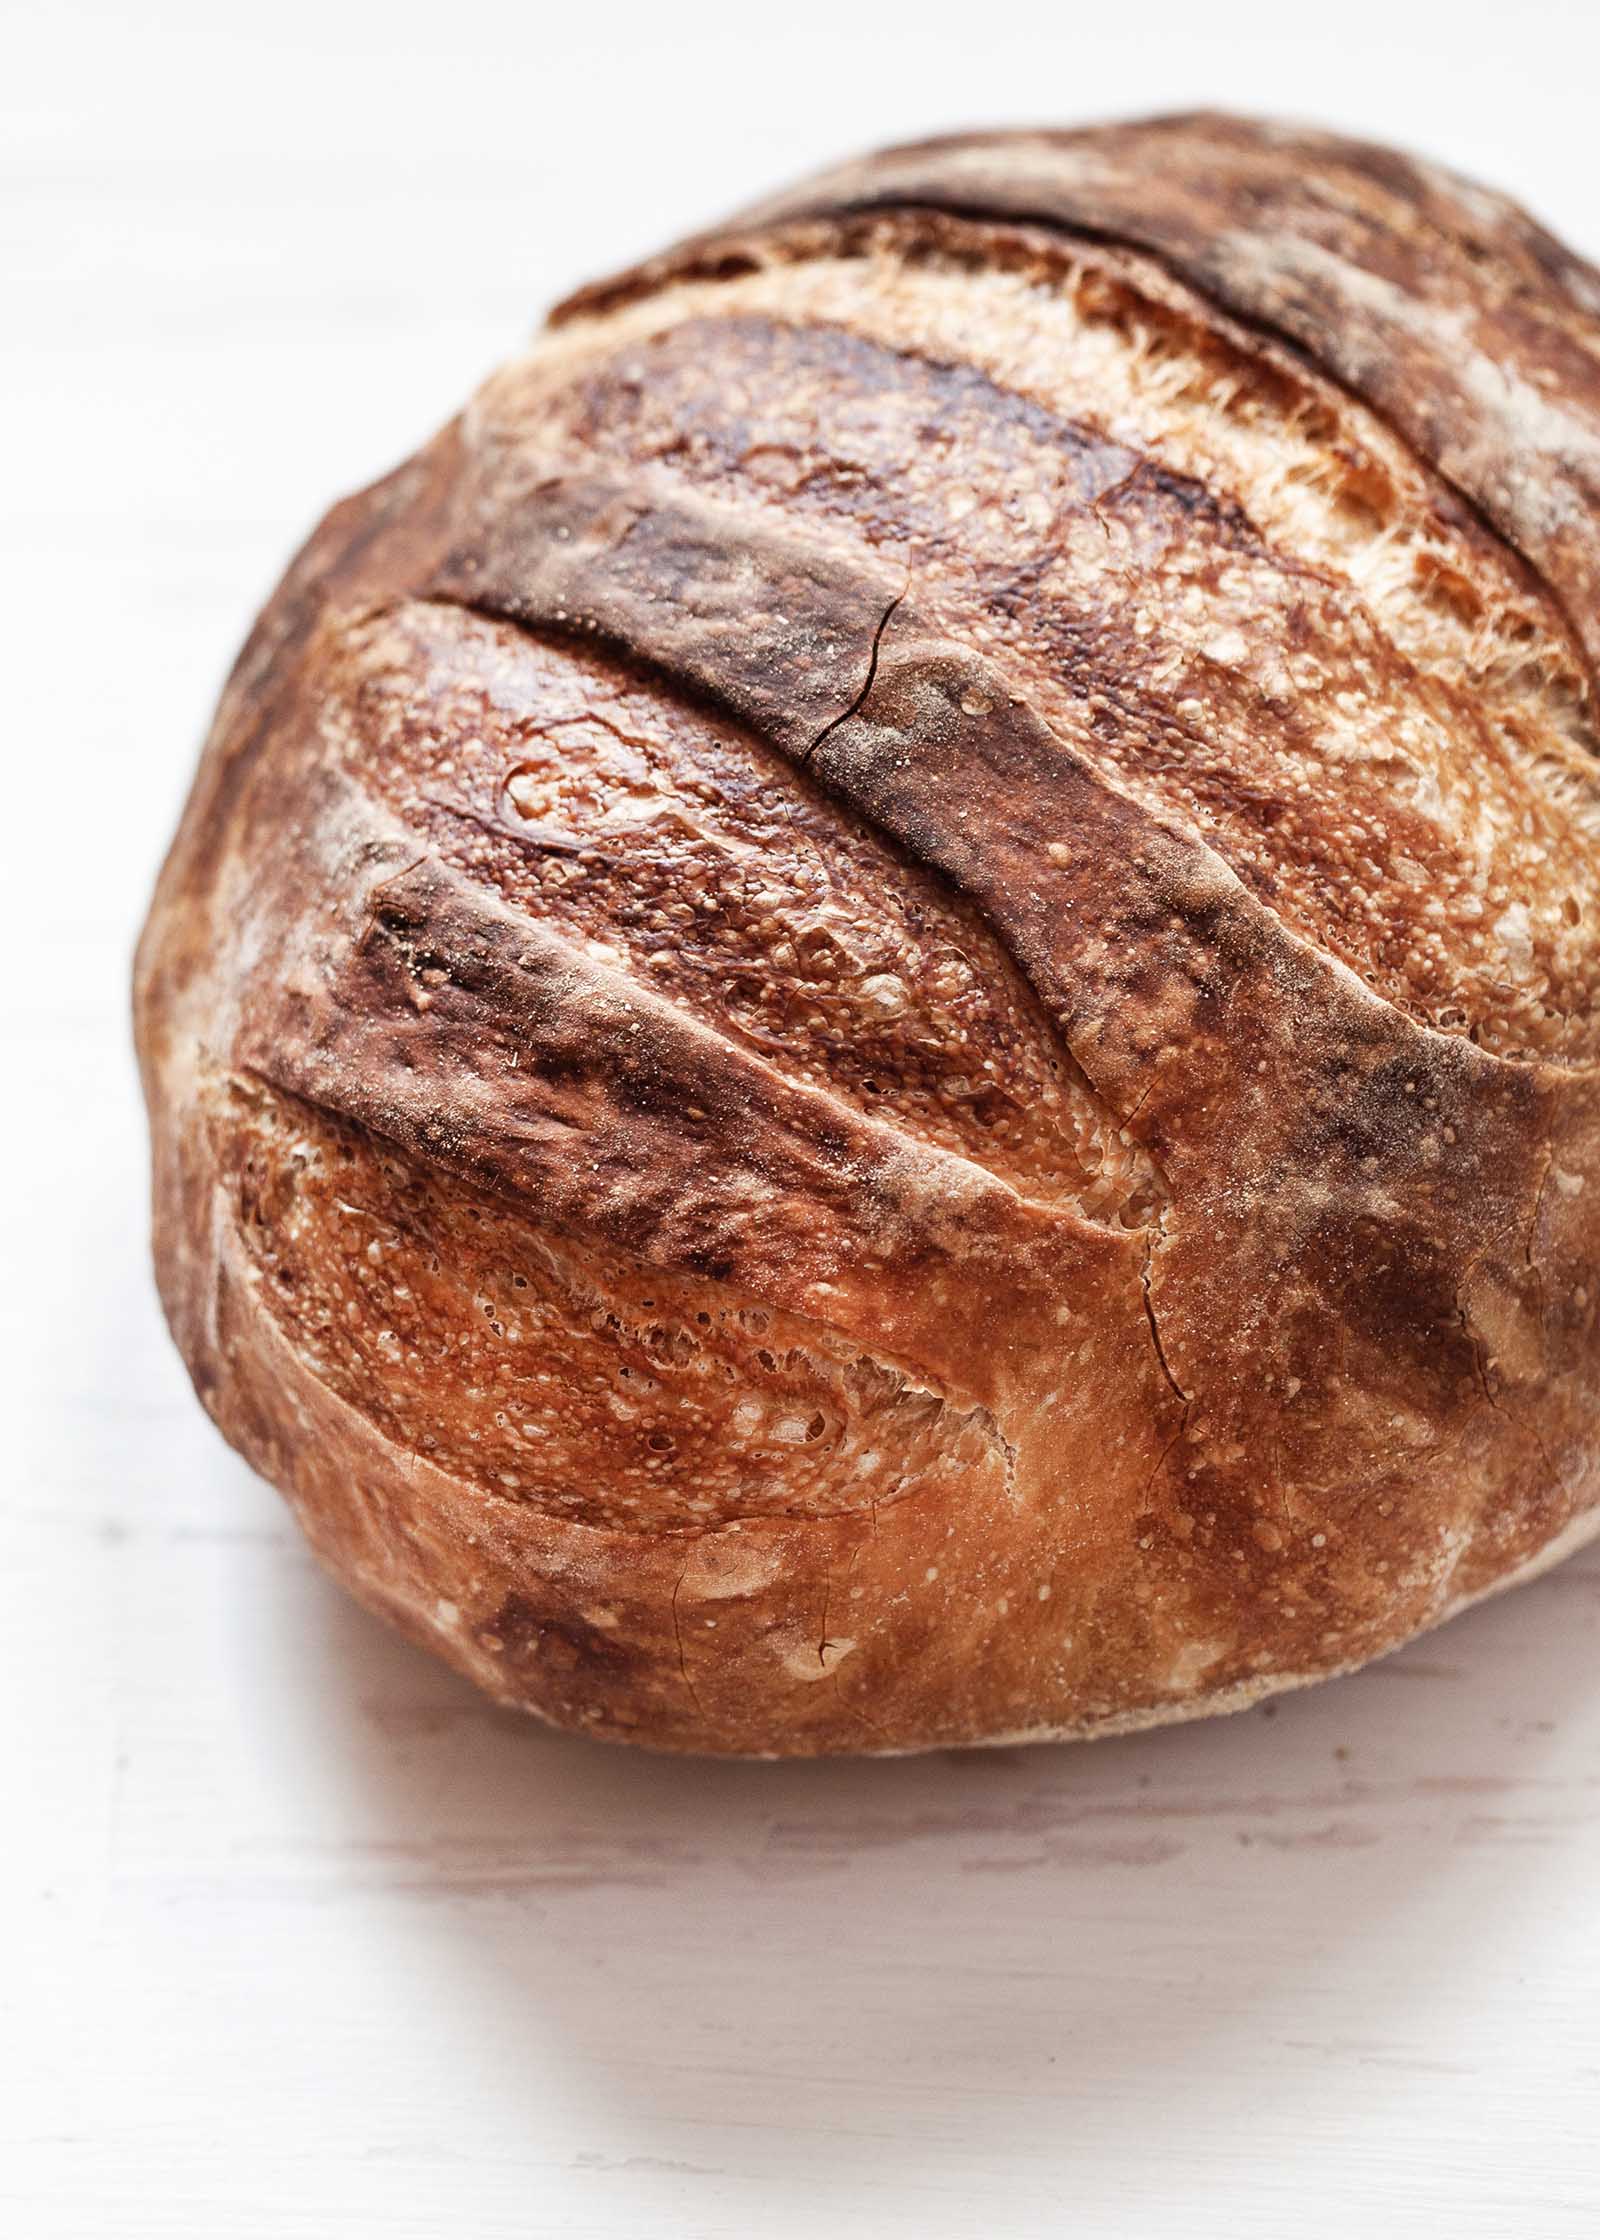
No need to knead! Only 5 minutes of hands-on time will yield a delicious, crusty, bakery-style loaf of bread. A long slow rise builds flavor and texture so all you have to do is pop it in your Dutch oven, bake and enjoy!
If you haven’t jumped on the bread bandwagon yet, welcome aboard! You may never get off it once you’ve made your first loaf of bread in a Dutch oven. And you won’t believe how easy it is!
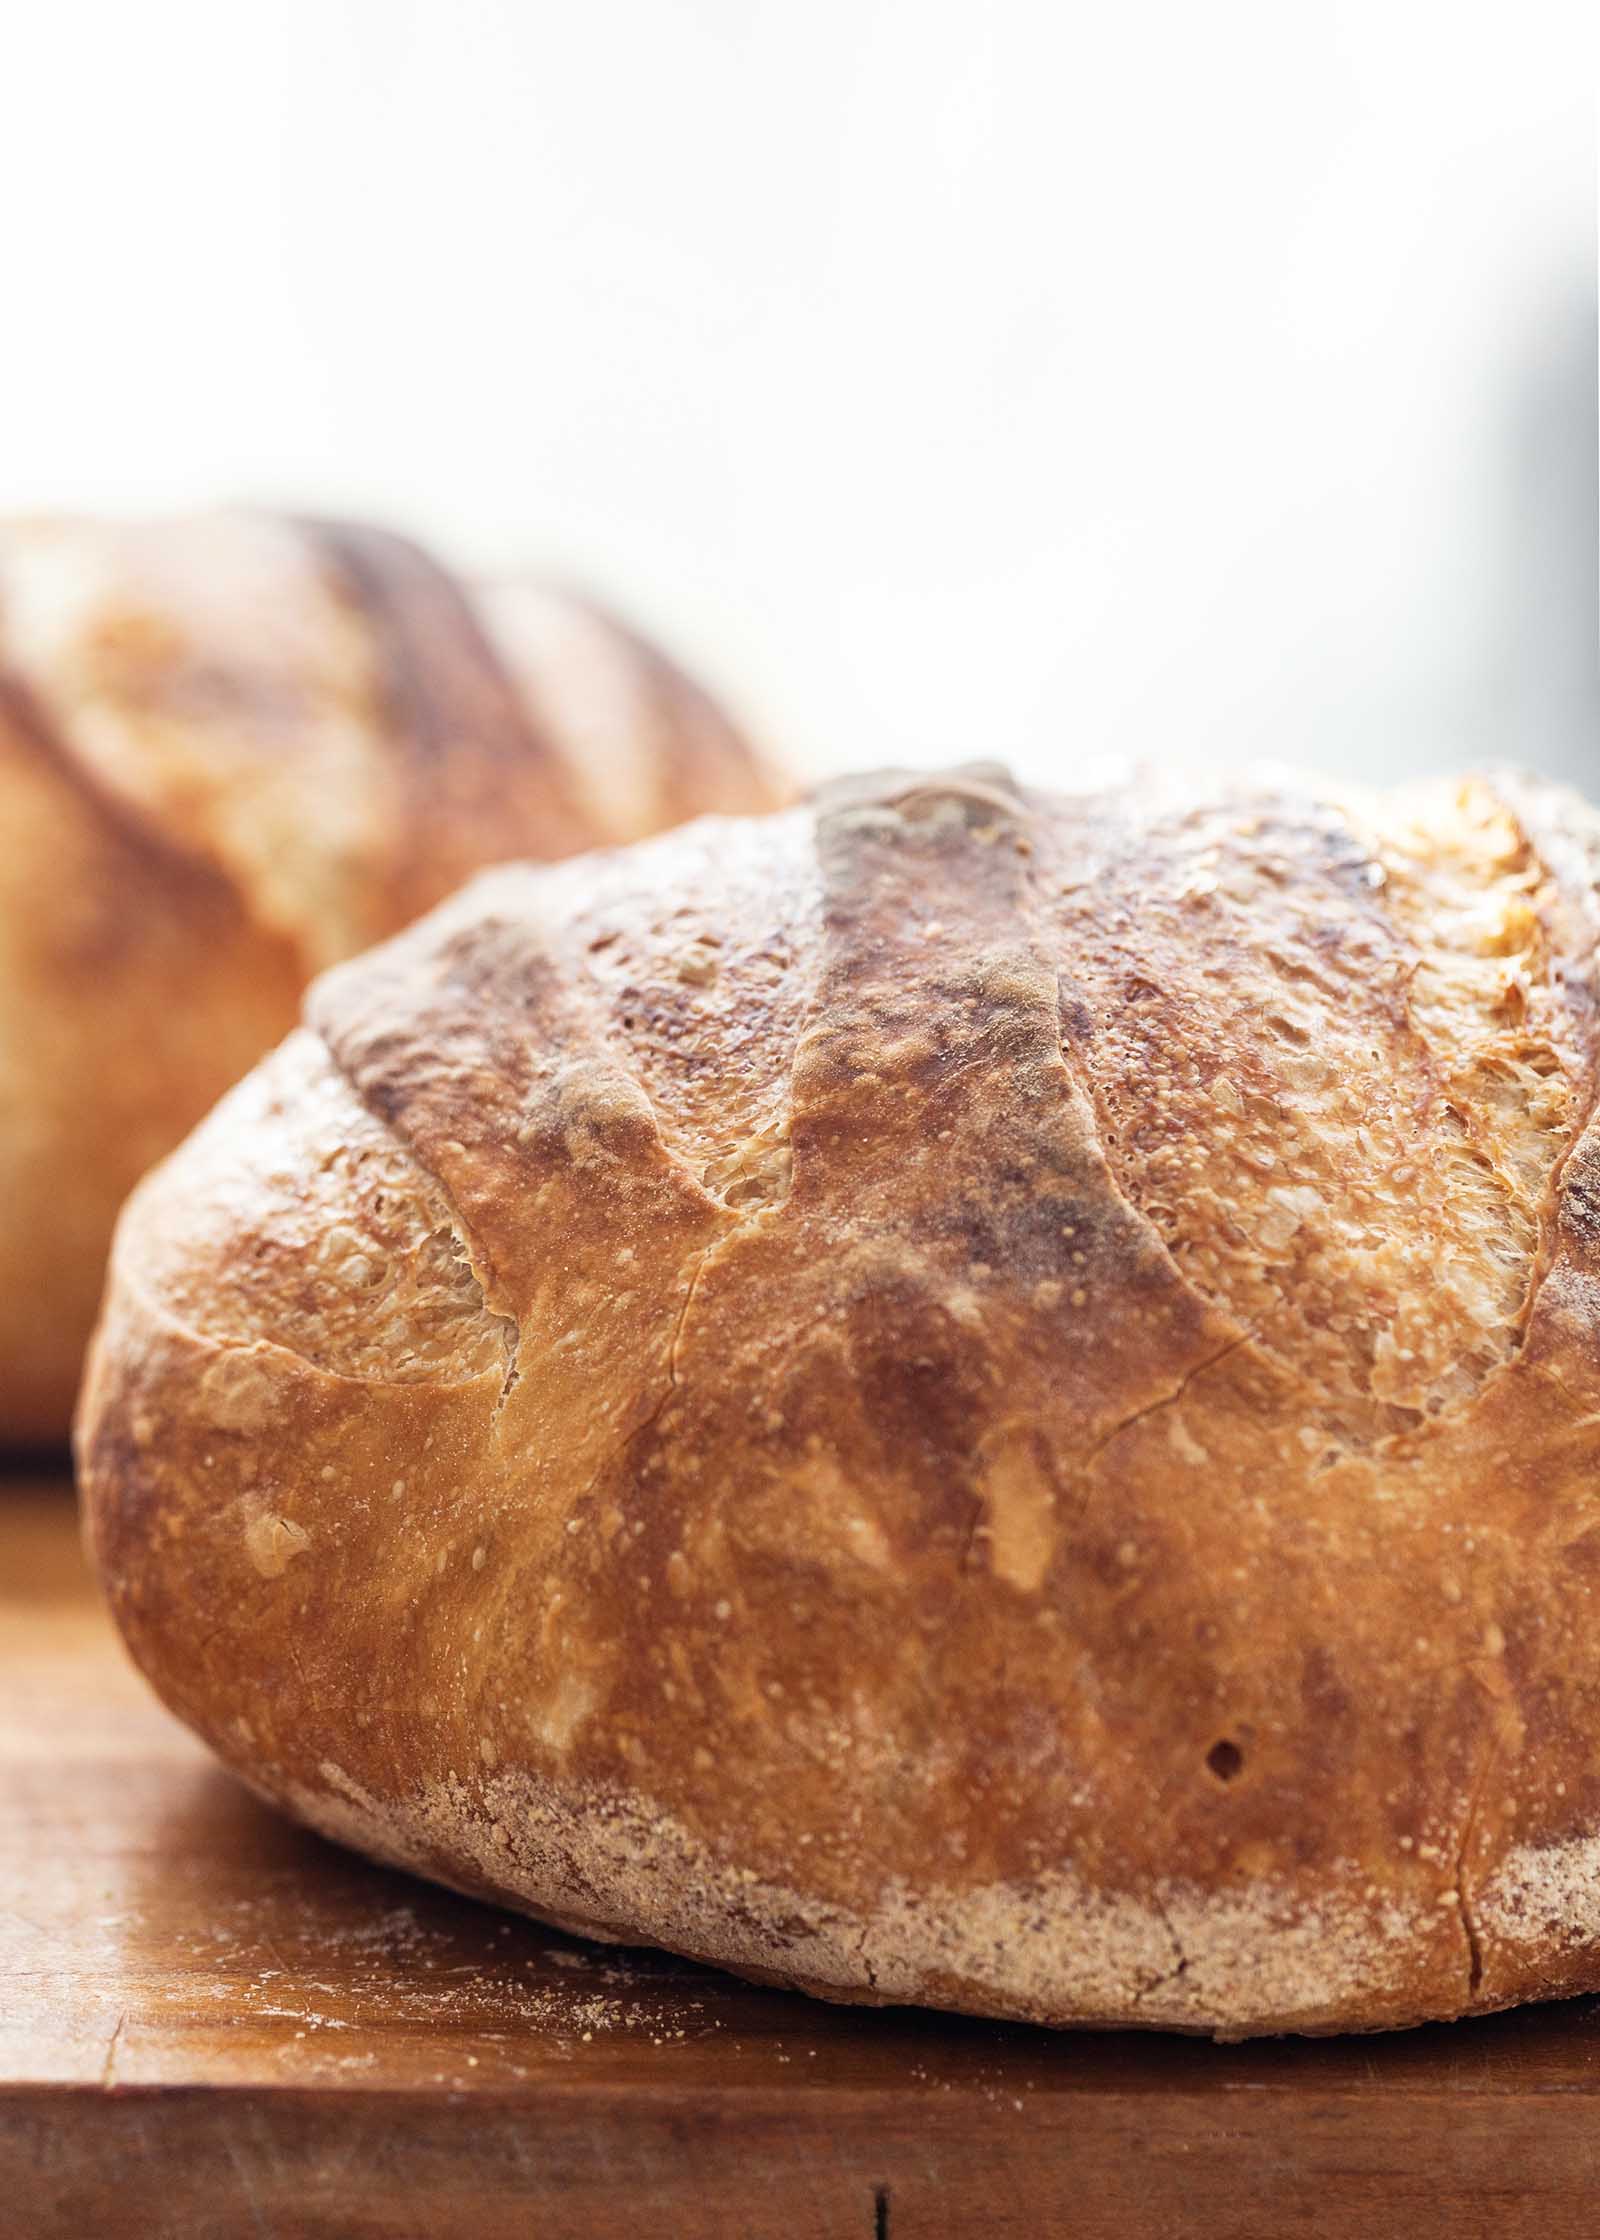
The idea, first developed by Jim Lahey in his Sullivan Street Bakery in New York City, is simple but beautiful. Mix up a wet dough, let it rise overnight, pop it into a very hot pot in a very hot oven, and out comes a loaf with a beautiful crust that crackles as it cools, with an airy, bubbly crumb and a chewy texture.
You’re going to pat yourself on the back so hard your whole body will hurt. Seriously, folks, this bread is easy and delicious.
WHY AND HOW NO KNEAD BREAD WORKS
Yeast breads typically need to be kneaded to develop strands of gluten in order to form structure to hold the gasses that yeast produces so the bread will rise.
So how does this work with a no-knead bread? The simplest explanation is that in a very wet dough like this no-knead dough, the gluten floats around more, and strands form on their own over time. This is why the rising time is so much longer than typical bread recipes. The long rise also develops excellent flavor in the dough.
The second important factor for making a crusty loaf of bread is a hot Dutch oven. When the wet dough goes into the hot pot, the lid captures the steam so the bread bakes in a humid environment, which gives it a beautiful crisp crust.
Also, the pot acts as a mini-oven. The heat is actually compressed and concentrated around the bread much more than if it were baked on an oven shelf with the wider walls of the oven containing the heat.
THE BEST FLOUR FOR DUTCH OVEN BREAD
All-purpose or bread flour works the best for this recipe, but other flours like whole wheat, spelt, or rye flour will work in combination with the white flour. Start by substituting 1 cup of alternate flour for 1 cup of the all-purpose flour. If you like the results, you can try using more of it the next time you bake.
THE YEAST TO USE FOR THIS BREAD RECIPE
I like to use instant yeast, also known as rapid rise yeast, but if you have active dry yeast on hand that will work too. I love this brand of yeast; I buy it in bulk and you might want to too if you start baking with yeast a lot. It keeps a long time in the freezer—as long as a couple of years, as far as I can tell!
HOW TO USE SOURDOUGH STARTER INSTEAD OF YEAST
If you have sourdough starter, use it! You can use sourdough starter alone without yeast or sourdough by itself without any yeast.
- Sourdough starter + yeast: If you’re new at using a starter or your starter isn’t robust you might want to use a combination of yeast and starter. To do this, decrease the yeast in the recipe to 1/4 teaspoon. Add the yeast to the flour when you mix the dough. Then place about 1/4 cup (50g) of sour dough starter in a liquid measuring cup. Add enough room temperature water to measure 1 1/2 cups. Stir to combine the starter with the water and add to the dry ingredients.
- Sourdough starter only: If you have an active and robust starter skip the yeast all together. Just add 1 cup (200g) starter to a liquid measuring cup. Add 1 1/2 to 1 3/4 cup room temperature water. Stir the starter and water together then add to the dry flour and stir to combine.
How to Make Perfect No-Knead Bread
I’ve gotten this bread down so I could do it in my sleep (if that were possible!) It has two rises, one of which happens overnight.
- Mix the dough and let it rise: First, I mix the dough the night before I want to bake it. This only takes a few minutes, and I can do it along with after-dinner kitchen cleanup. I cover the dough bowl (no need to transfer it) with plastic wrap and leave out overnight at room temperature. This is the first rise.
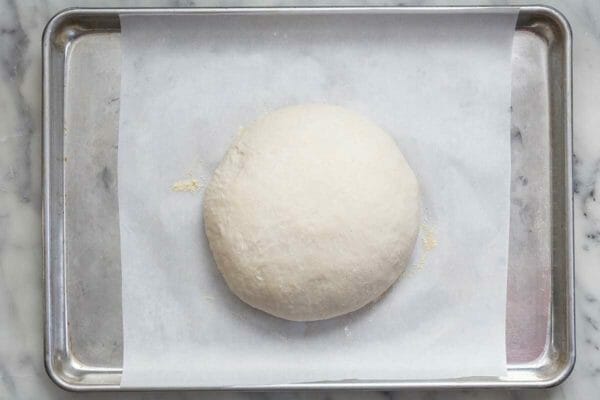
- Shape the dough into rounds: The next day, I turn it out onto a floured countertop and start shaping it by stretching and fold the edges of the dough in towards the center. This deflates the dough and allows you to shape it into a smooth ball.
- Let the rounds rise: Next, I set the rounded dough on a parchment lined baking sheet (so I can move it around the kitchen if I need to) and let it rise for 1 1/2 to 2 hours on the parchment, covered with a cloth napkin or kitchen towel. This is the second and final rise.
- Heat the oven and the Dutch oven: After about one hour of rising, I heat the oven with the pot in it to heat the pot.
- Score and bake the loaves: When the loaf is ready to be baked, I score it, pick up the edges of the parchment, place the dough in the pot, set the lid on top, and bake for 30 minutes. I then remove the lid and continue to bake the loaf for 20 to 25 minutes to finish baking and browning.
NO KNEAD BREAD ON A FLEXIBLE SCHEDULE
Mixing and Rising: As I mentioned before, you can throw everything into the bowl of a stand mixer and mix with the paddle attachment. Let it rise in the same bowl. If you are mixing by hand, also easy (and fun), be sure to use a large enough bowl. The dough will probably double or triple in volume when it rises overnight.
Timing (stay flexible): My preference for this bread is to give it an overnight rise at room temperature. It also develops more flavor with a slow rise. But flexible timing is the beauty of this dough.
- At almost any phase during the first rise, you can pop the dough in the fridge to slow down the rise. You can keep it in the fridge for up to 5 days for the first rise.
- For the second rise, shape the dough and let it rise on the counter, but if you forget you have somewhere to go you can pop the shaped dough into the fridge and it will be fine for 3 or 4 hours. If it has risen enough, take it directly from the fridge to the oven, or leave it out at room temperature to continue rising until it is pillowy and has doubled in size. (Hint: take a picture with your phone so you can remember how it looked when you started.)

WHAT’S THE BEST WAY TO SCORE BREAD?
Scoring bread before baking serves as a release valve for the dough as it expands, and keeps the loaf looking nice. Without it your dough will probably burst in places. Not the end of the world, it still tastes great.
You could use a very sharp knife, razor blade, serrated knife, or credit card (!) to cut into the dough. There are a lot of fun designs: hashtags, tic-tac-toe, or just a few 1/2-inch-deep slashes will help the bread rise evenly.
THE BEST DUTCH OVEN FOR BAKING BREAD
Use either a cast-iron pot or an enameled cast iron pot, 5-quarts or larger, because it has excellent heat-retaining qualities.
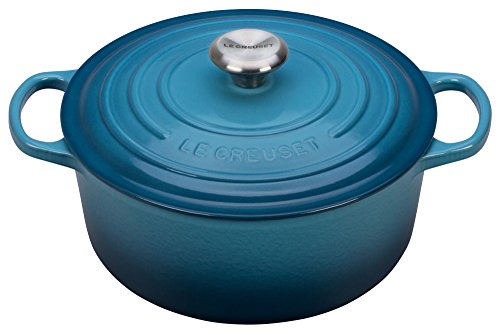
5 1/2 Qt Round Dutch Oven
$337.95 (6% savings) on Amazon Buy
What if You Don’t Have a Dutch Oven?
Without a Dutch oven there are two options worth considering.
- Option 1: Use a large cast-iron skillet (10 to 12 inches), a small cast iron skillet (6 to 8 inches) and ice cubes. Preheat both skillets as you would the pot. Place the dough round (on the parchment) into the larger skillet, and place about 1 cup ice cubes in the second hot skillet. Be sure not to use glass or ceramic baking dishes for the ice cubes, as they could crack.
- Option 2: Use a baking stone and a pan of water. Preheat the oven and the baking stone for about 45 minutes. About 10 minutes before you bake the bread, place a baking dish with about 1 cup hot water in the oven below the baking stone. Slide the bread (keeping it on the parchment) onto the baking stone.
Let the Bread Cool Completely (No Cheating!)
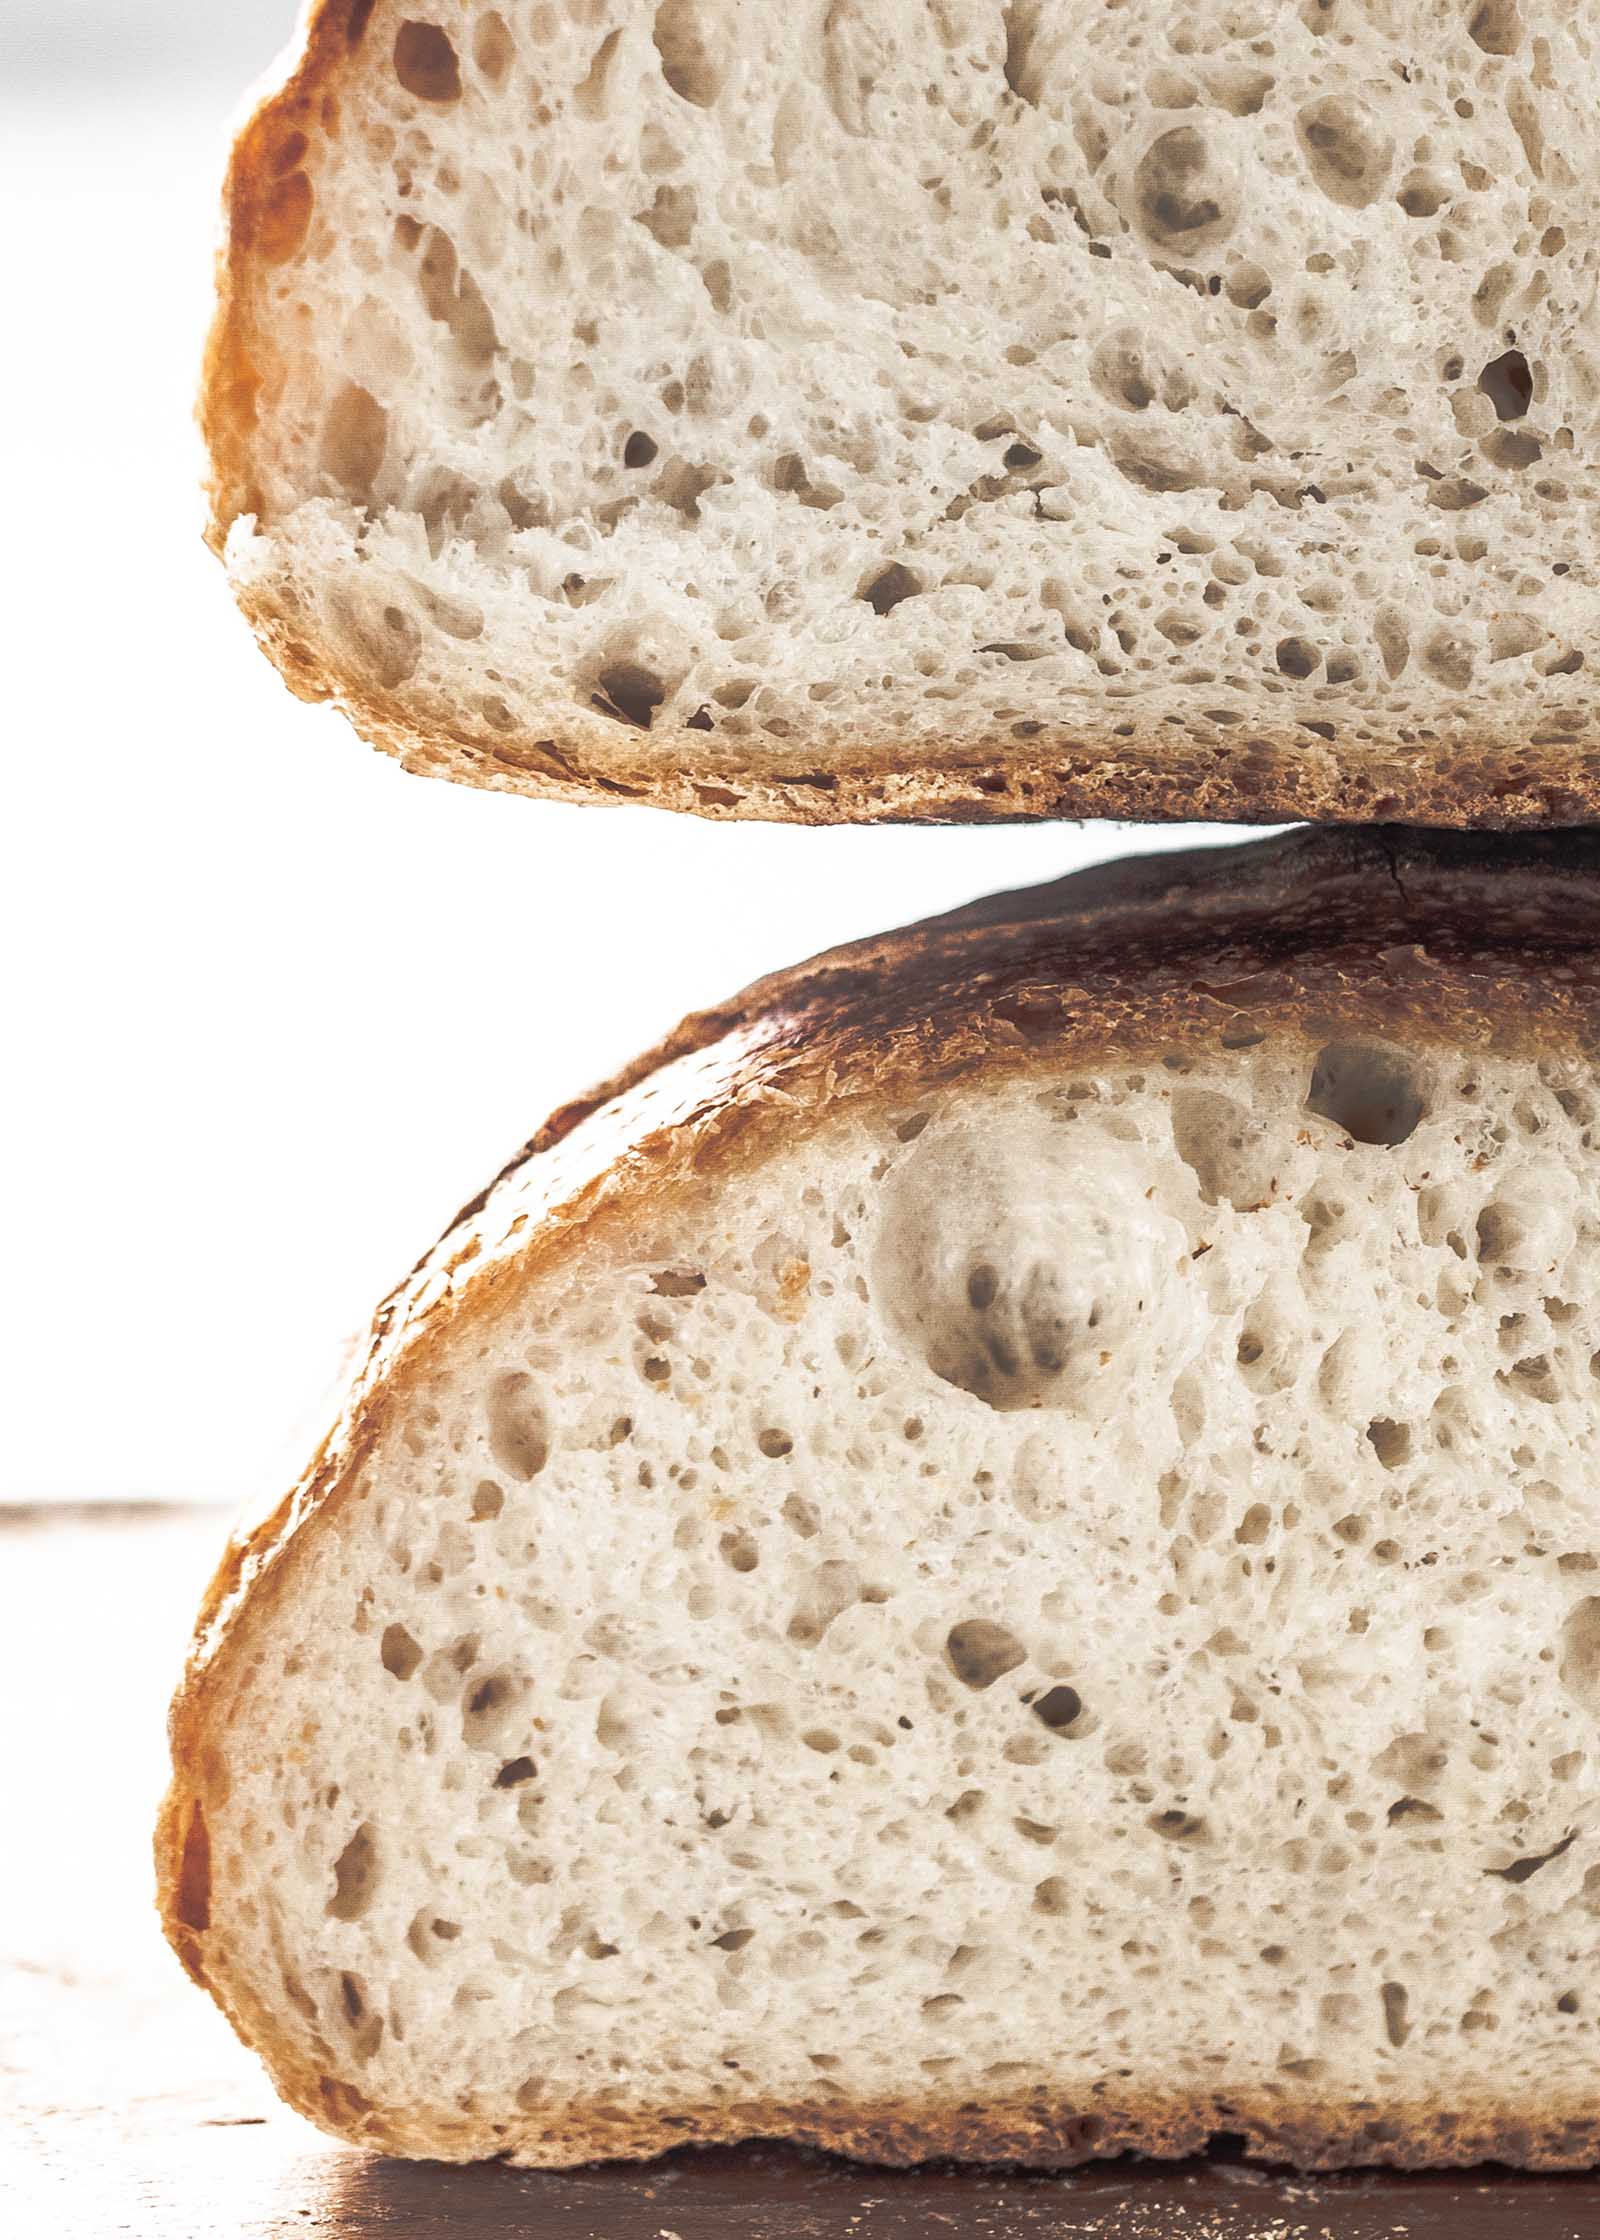
Slow down, cowgirl! You’ve put some time into this, so don’t cut into the bread until it’s thoroughly cool. It continues to bake a little more after it comes out of the oven, and you will spoil its gorgeous texture if you’re impatient. The bread will compress and the texture will be squishy rather than airy and full of pretty holes.

HOW TO STORE FRESHLY BAKED BREAD
Your bread will not stay ‘forever fresh’ like most store-bought breads, but it will be really good for at least two days.
When the bread cools completely (and not before), you can cut into it. On day one, leave it out, uncovered, with the cut side down on a counter or cutting board to keep the crust crisp and the cut edge from drying out.
To store it overnight, or for up two days, wrap it in waxed paper and place it in a plastic bag or a cloth bag, if you have one. I like to store mine in one of the many lightweight canvas bags I’ve accumulated. You probably have at least one in your closet.
To store it for more than two days, keep it in waxed paper inside a ziptop bag, but be aware that the crust loses its oomph and crispy texture. That’s why toasters were invented!
P.S. My last meal, if I get to choose it, will be a thick slice of this bread, toasted so it’s crisp on the outside and soft on the inside and slathered with butter. If I don’t get to go to heaven, I will at least have experienced it on the earthly plane.
WAYS TO USE UP STALE BREAD
The first go-to with stale bread is to toast it. But there are several other ways that make stale bread like money in the bank. Fresh baked bread usually dries out before it acquires mold, so be sure turn it into something delicious. Here are a few ideas:
- Turn it into breadcrumbs
- Make croutons and toss them in your soup or salad.
- Leftover bread is ideal for bread pudding (yum) or French toast.
- Tear it into pieces to add to vegetable bean soups like minestrone.
HOW TO FREEZE THIS BREAD
It will be impossible to resist this bread, but if you don’t plan on eating a whole loaf within a day or two wrap a whole or partial loaf well in foil and slip it in a ziptop bag.
It will keep in the freezer for at least three months.
To refresh a frozen loaf: Let it defrost at room temperature. Preheat the oven to 350ºF. Spritz the loaf lightly with water and place it directly on an oven rack for 15 minutes or so, or until the crust feels crisp. Cool completely before slicing.
MORE HOMEMADE BREAD RECIPES
- Whole Wheat Bread
- Homemade Rye Bread
- Homemade Potato Bread
- Boston Brown Bread
- Anadama Bread
- Irish Brown Bread
Follow me on Pinterest  Save It
  Saved Print
No Knead Bread Recipe
- Prep time: 5 minutes
- Cook time: 50 minutes
- Rising Time time: 10 – 24 hours
- Yield: 1 medium loaf
You can use sourdough starter in this recipe. To do that, place about 1/4 cup (50 g) starter in a measuring cup and add enough water to measure 1 1/2 cups. Stir to combine the starter with the water and add to the dry ingredients. I also add 1/4 teaspoon of yeast to the flour just to make sure the dough rises. If you’re confident in your starter, skip the yeast, and use 1 cup (200 g) starter. Just add it to the water, stir to combine, then add the combination to the flour.
Adapted from Jim Lahey's No-Knead Bread recipe.
Ingredients
- 4 cups (480g) all-purpose flour, plus more for shaping the dough
- 1 teaspoon instant (“rapid rise”) yeast or active dry yeast dissolved in water
- 1 1/2 teaspoons salt
- 1 1/2 cups room temperature water
- About 1/4 cup cornmeal or all purpose flour for the final rise
- Dutch Oven
Method
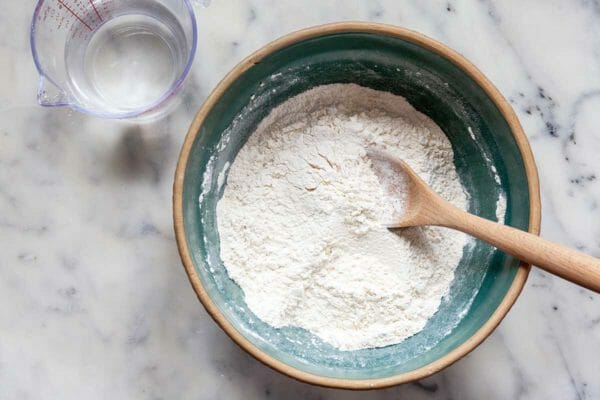
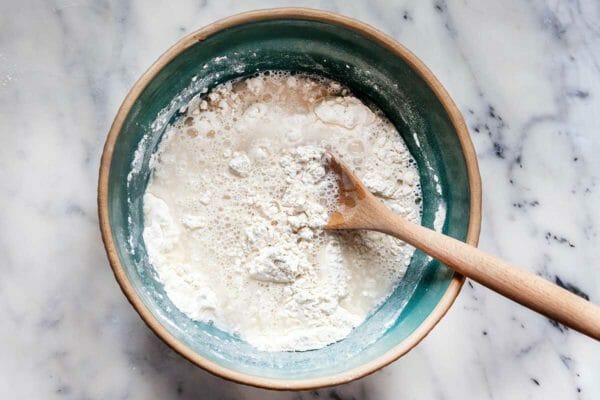
1 Mix the dough: In a large bowl, whisk the flour, yeast, and salt until combined. Make a well in the flour and pour the water into it. Mix together with your hands or a spoon until all the flour is incorporated. The dough will be soft and sticky.
You can also mix this quickly in the bowl of a stand mixer with the paddle attachment and let the dough rise in the mixer bowl.
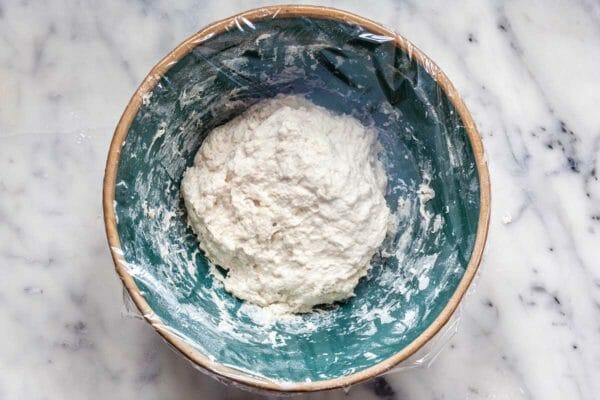
2 Let the dough rise: Cover the bowl with plastic wrap and leave at room temperature for 8 to 24 hours, overnight is best.
After the first rise, the dough can be refrigerated. Stretch and fold the edges in toward the center to make a ball, which deflates the dough and redistributes the yeast. Cover the bowl with plastic wrap, and store in the fridge for up to 5 days. Bring to room temperature before using.
3 Line a baking sheet with parchment paper: Line a baking sheet with parchment paper cut to a 15-inch square (approximately) and sprinkle it generously with cornmeal or flour.
4 Shape the dough: On a generously floured work surface turn out the dough. Using floured hands, reach under one side of the dough and stretch and fold it over the top of the dough toward the center. Rotate it 1/4 turn and repeat. Repeat this 2 to 4 times. This deflates the dough and gives it better structure.
Pat the dough into a thick square, and bring all four corners toward the center to form a ball that is smooth on the bottom. Pinch the ends together firmly. Turn the dough over and, with cupped hands, shape it into a round with a smooth top.
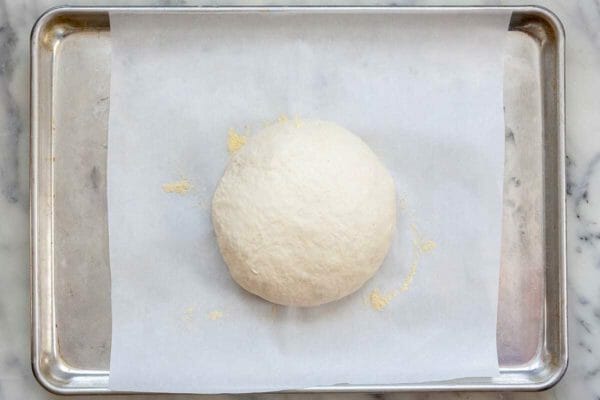
5 Let the dough rise again: Place the dough on the prepared parchment paper with the seam side down. If you like, sprinkle it with about 1 rounded teaspoon of flour and smooth it over the top of the loaf with your fingers. Cover loosely with a cloth napkin or dishtowel. Let rise for 1 1/2 to 2 hours, or until the dough has approximately doubled in size and feels puffy and light to the touch.
6 Heat the Dutch oven: About 45 minutes before the loaf is ready to be baked, position a rack in the lower third of the oven and set the oven to 500ºF degrees. Place an empty 5-quart cast iron or enameled cast iron pot with a lid in the oven and heat it until ready to bake.
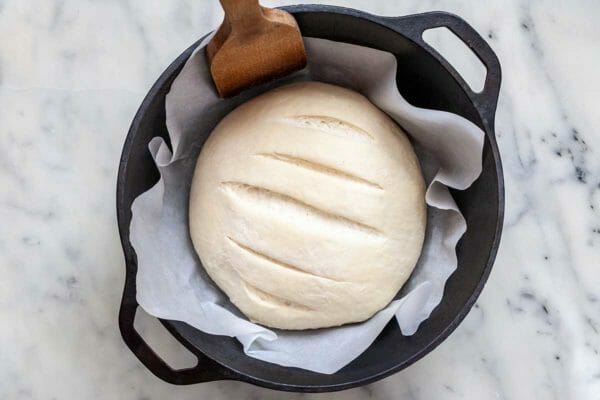
7 Score the dough: When the dough has risen, using a bread scoring or serrated knife make one large slash 1/2-inch deep across the center of the top of the loaf. Make 2 smaller slashes, each progressively smaller, on each side of the central slash, for a total of 5 cuts.

8 Bake the loaf: Remove the pot from the oven and remove the lid. Carefully lift the parchment and place the loaf in the pot. Use the handle of a wooden spoon to press the parchment into the sides of the pan if it is not flat. Place the lid on the pot.
Bake the bread for 30 minutes.
9 Reduce the heat and continue baking: Turn the oven down to 450º F and remove the lid. Bake for 20 to 25 minutes longer, or until the top is browned.
If you like, you can use an instant read thermometer to test the internal temperature of bread; it should register from 190º to 210ºF when the bread is done.
Total baking time is 50 to 55 minutes.
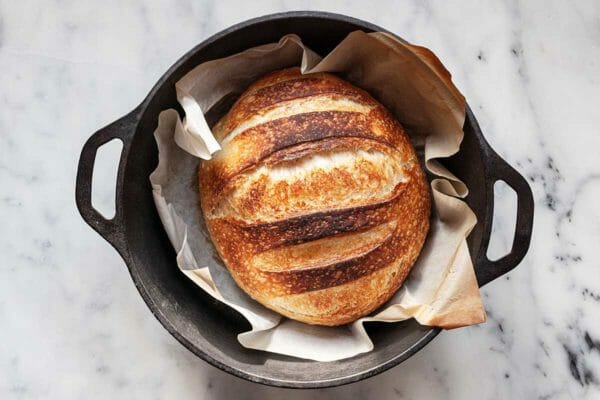
10 Transfer the bread to a rack to cool: With a metal spatula, carefully lift the bread out of the pot and transfer it to a rack to cool completely. Do not cut into the bread until it is thoroughly cool! I know, it’s hard to resist, but it continues to bake and set as it cools.
Hello! All photos and content are copyright protected. Please do not use our photos without prior written permission. Thank you!
This post may contain links to Amazon or other partners; your purchases via these links can benefit Simply Recipes. Read more about our affiliate linking policy.
 Sally Vargas
Sally Pasley Vargas is a freelance writer and the author of three cookbooks (Food for Friends, The Tao of Cooking, Ten Speed Press, and The Cranberry Cookbook). She currently writes the column The Confident Cook for The Boston Globe along with seasonal recipes for the Wednesday Food Section.
More from Sally
![]()
![]()


